We had a decent Verizon signal for our wifi and phones. The free wifi at the club house was pretty good as well. We were able to get good satellite signal for Direct TV but have patience when setting it up. This campground is surrounded by hills and the signal tends to bounce around. The "cafe" is open at the clubhouse on Friday, Saturday and Sunday for dinner, and I think daily for breakfast and lunch. The food was pretty good. We aren't activity people so we did not spend much time doing any of the activities offered at the park. We didn't check out the bathhouses either.
One of the topics that often comes up in relation to this park is whether or not to take Highway 25 going from the park, or coming from the south. My opinion is this - it's doable, but most people would find it stressful. It is a 2 lane road, narrow in many places, and there are a lot of twists and turns. I certainly wouldn't want to take this if I were driving a big motor home or pulling a rig. We opted to do a "Sunday drive" to check it out, and I was glad we did. We took the loop around, picking up Highway 101 in Hollister, taking that south, and then heading east at King City, and then taking Highway 25 north back to Paicines. It was a very pretty drive. If you like the pretty drive thing, try take a right when you exit the park. Cienga Way goes through and comes in at the back side of Hollister. It takes longer than going through Tres Pinos, but it was a different view.

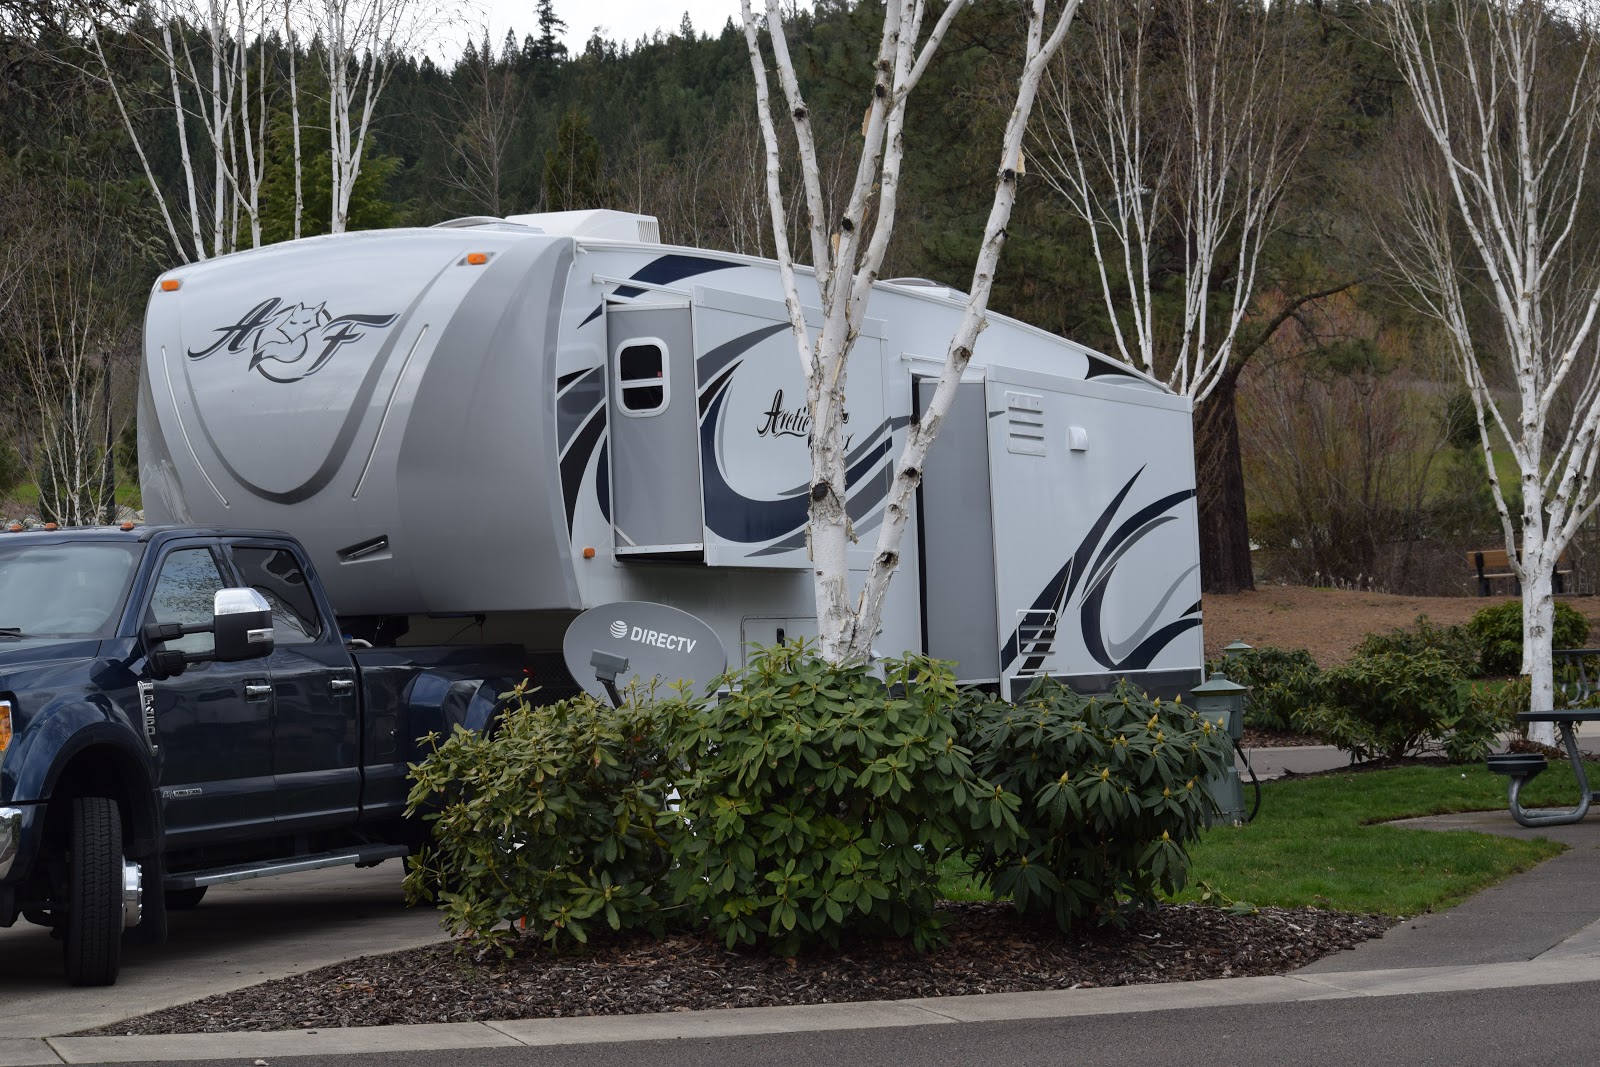
Lake Minden Thousand Trails - Nicolaus, CA: Okay, this was not my favorite park. There are two sections - the 50 amp full hook ups that are near the office, and then the 30 amp W&E only on the other side of the lake. Things are tight in the 50 amp section. Sites are larger in the 30 amp section. The positives about this park are that the staff is great. The restrooms were clean. It was a nice walk around the lake. The setting was nice. If you have kids, there was so much open space for them to run around and play. I'm a bit hesitant to talk about what I didn't like about the park. It rained most of the time we were there. It appeared that greater than 75% of the park was made up of long term residents. One gal I spoke to told me that many of the people in the park were there because they had been misplaced due to the fires and flooding that had occurred in the area over the past year. The whole place just had a "trailer park" type feel. People walked through your site. It just wasn't a place I really wanted to return to. I was glad when the week I had planned there was up. Now all that said, I have since talked with other people who love the park. They visited when the weather was more cooperative. We may try again, but will only plan on staying for a few days. I did like exploring the area, driving around Yuba City and down to Marysville. It is an easy drive to explore Sacramento if that appeals to you. I have pictures of the surrounding area on the post titled March Pictures. I was so glad to get out of the park that I forgot to take pictures of our site, but here is a picture of one of the more interesting resident.

Another travel note here, when we left Lake Minden headed north, we stayed on Highway 99. What a nice easy and lovely drive!
JGW RV Park - Redding, CA: This is one of my go to parks when traveling north or south. One of the reasons we stop here, over and above the easy off and on from I-5, the setting on the river and the fact that it is a nice clean quiet park, is that they have a great on-site laundromat. After a week without a sewer hook up at Lake Minden, I had a bunch of laundry to do. I didn't take any pictures this time around but you can see our previous stay by clicking here .
Seven Feathers RV Resort - Canyonville, OR: Another favorite place to overnight.....or more. The park is beautifully laid out and landscaped. They have a free shuttle to the casino (and free dry camping in the casino parking lot). There are laundry facilities and an indoor pool and spa at the RV Resort. This is a popular place, so reservations are recommended.
Brookhollow RV Park - Kelso, WA: And here we have yet another of my favorite overnight spots. This is a well run park. Easy access from I-5. Far enough away from the freeway that noise is not an issue. Plenty of shopping and restaurants within 1-2 miles.
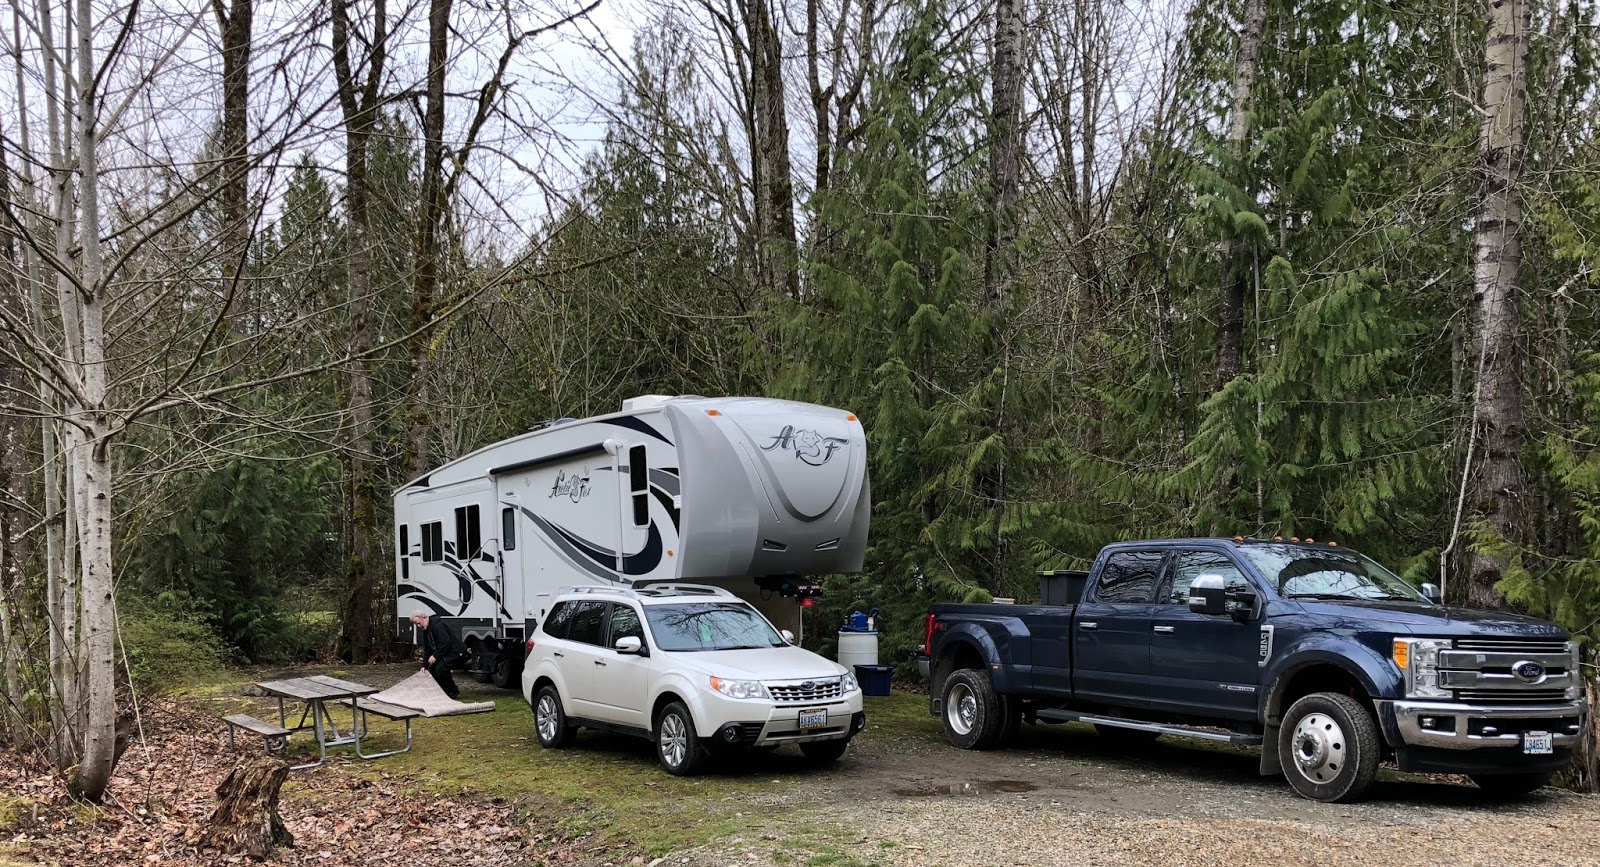
Tall Chief RV Park - Fall City, WA: This is an Encore Park, owned by the same parent company that owns Thousand Trails, namely Equity Lifestyle Properties. We hadn't stayed in this park in about ten years, which means it was probably more like twenty years - because I am of that age that it seems like yesterday and I'm always shocked about how long ago it really way. At any rate, the primary benefit of this park is location, location, location. Depending on traffic, this park puts you 30 - 60 minutes from Seattle. The park if basically a piece of forest land near Issaquah - a bedroom community for Seattle and Bellevue. The sites are good sized. It has 30 amp electric, however, the voltage dips when the park is full...or when rather your loop is full. Satellite spots are hit and miss. Husband and I grew up in Western Washington, and for the last 25 years have lived about 40 miles from this park. That explains why I don't have much to contribute about touristy things. We didn't do much of anything. We stay here primarily because of family in the area. What I do want to share is that if you don't want to drive into Issaquah or Redmond to grocery shop, there is a very nice Albertson's store less than 5 miles from the park. And I found a fabulous laundromat in Carnation, with big machines and attendants that keep the place very clean!
Note: I have been struggling with this blogging program, when it comes to uploading pictures. I'm not sure if it is our internet access which is slow - although it has been slow for the last 5 months and all up and down the west coast. Or is that because I am no longer participating in blogger's advertising program that they have downgraded my priority. Am I posting too many pictures? Or is it just that blogging has become such a popular thing to do that blogger's servers are overwhelmed? Or is it an Apple vs Google thing. I don't know. I don't really care. I just know that it is frustrating for me, and for the six people that routinely read this blog - it is not worth the effort to figure it out. However, because I write this blog as much for my own enjoyment as a way of documenting our experiences as I do to provide information for those surfing the internet for information on RVing, I attempting to learn to work with Word Press and moving the blog to our own domain. The name of the blog will be changing to Northwest Travelers. So stay tuned.